|
| My new laundry lines! I saw this idea on Design*sponge and had to give it a whirl. Here are my two finished lines. I've done a little play-by-play of Rosie and I putting together #2. They are fun, fast, flexible and more skookum than a piece of string:) |
 |
| Stuff you need to start: saw and box, 2 clamps,pen, measuring tape, drill, sander, stain, cloth, gloves, and piece of wood - I used a 1"x1"x4' piece, (plus small helper?) |
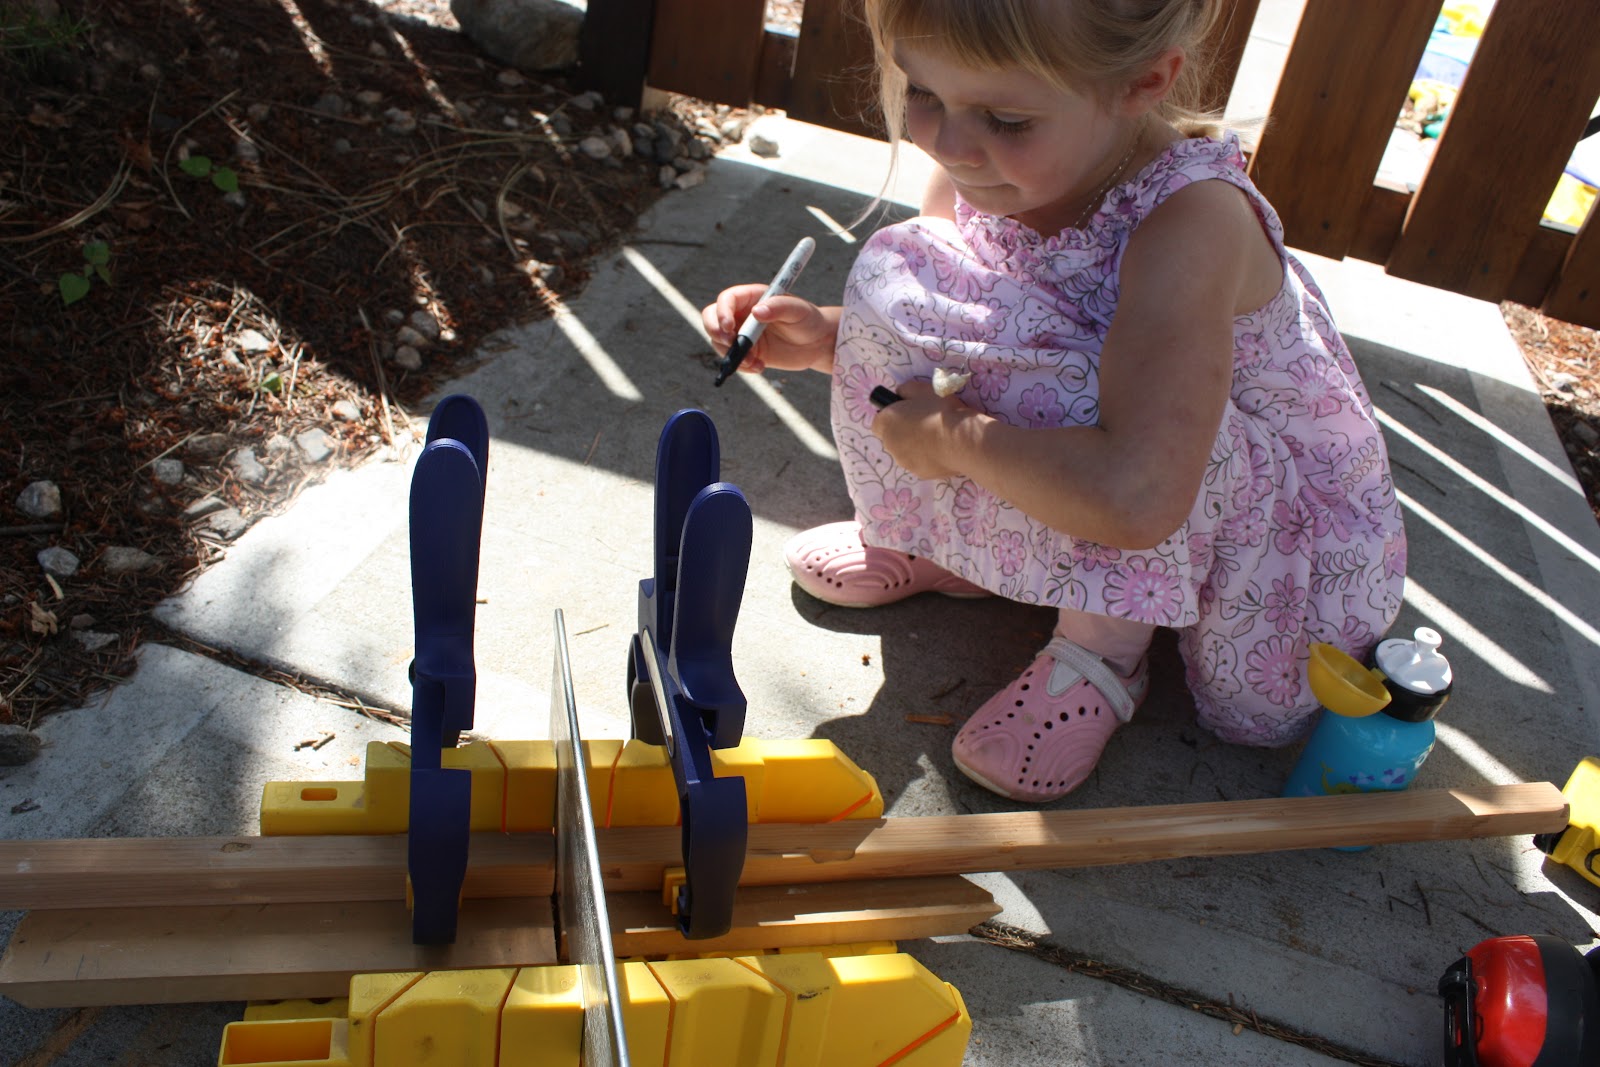 |
| Measure your wood and mark the centre. Clamp in your cutting box and saw through to give 2 equal pieces (mine are 2 feet long each). |
 |
| Mark one hole placement 1" in from each end, one in the middle and one between the middle and each end, for a total of 5. Drill each hole right through. Sand the rough edges with a sander or by hand with sand paper, don't forget the ends. |
 |
| Put on gloves and wipe on stain. Let dry. Go get small crying baby who was woken by the sander:} |
 |
| Later that day (or the next, depending on the way your day goes) once the stain is totally dry, collect the following: stained and drilled wood pieces, laundry line (mine was $1.29 from the dollar store), scissors, clear tape, measuring tape (or you can just eyeball it). |
 | ||||
| Find the end of your laundry line and wrap a piece of clear tape around it to keep it from fraying and to help thread it through the holes. Measure how far apart your supports are (trees, posts, anything that will hold the weight of wet laundry and get some sun or at least good air), add a few extra inches to that length for knotting and wrap that spot with a piece of clear tape centered over that spot. Cut in the middle of your tape so that the piece you cut AND the new end have tape on them (I used packing tape since it is nice and fat). Use the first piece to measure 4 more for a total of 5. Cut 2 pieces the length of your wood plus 4" for knot ease. | W |
 |
| Tie a knot in the first piece of a long length of line about 6 inches in from one end. Knot over that knot so it won't pull through the hole. Do the same to one end of a short length of line. |
 |
| Feed them both through one end hole, one coming from one side of the wood and one from the other, pull through till you hit your double knots and tie on the other side of the wood. Repeat with another long length of line and the loose end of the short line you just attached to the far end of the same piece of wood. Attach long lengths of line to the remaining 3 middle holes in that piece of wood, double knotting 6" in, threading through, and tying on the other side 2 times. |
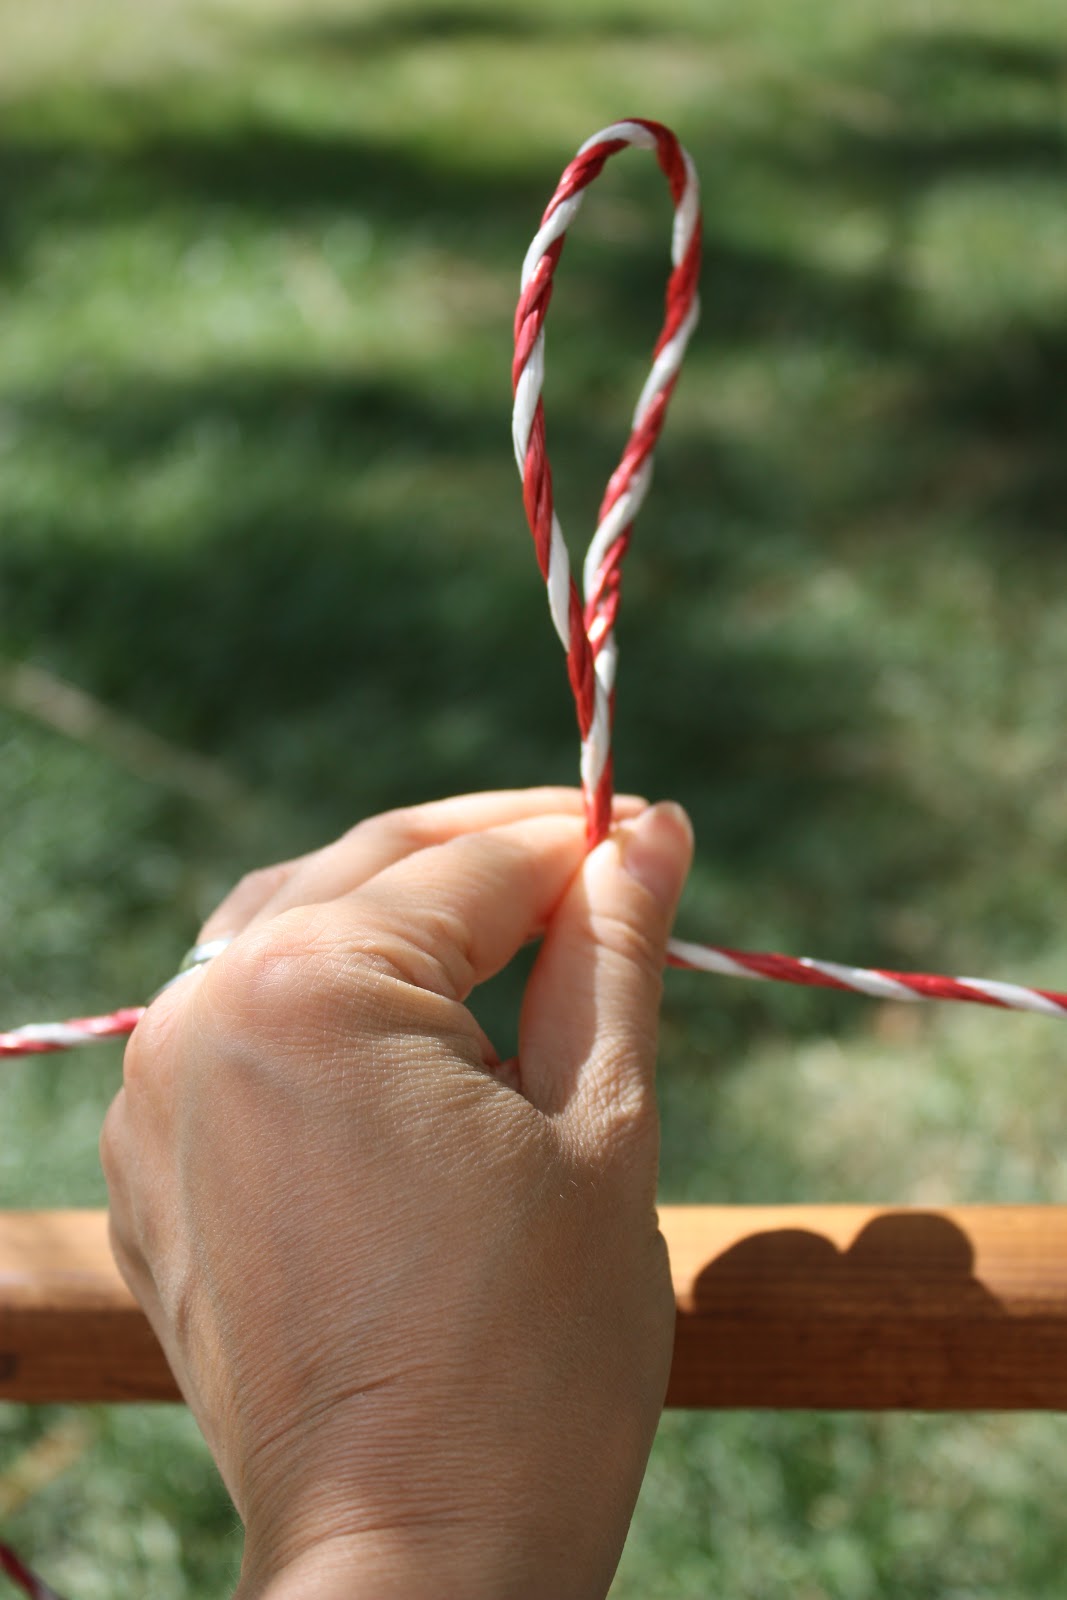 |
| To create a loop to hang that end from pull the short line taunt across the top and make a loop over the centre hole, tie holding taunt so that you have a nicely centred loop. |
 |
| Hold up to check that your loop is centred (more or less) and that you have 5 long lines coming from the bottom. |
 |
| Lay long lines on the ground and repeat with the other piece of wood and the remaining line to make the other end. Make sure that you don't mix up the order of the lines so that they hang properly from one end to the next. |
 |
| Tack up some nails or small hooks an hang in the sun. Add wet laundry and admire your solar powered dryer!!! Enjoy:) |